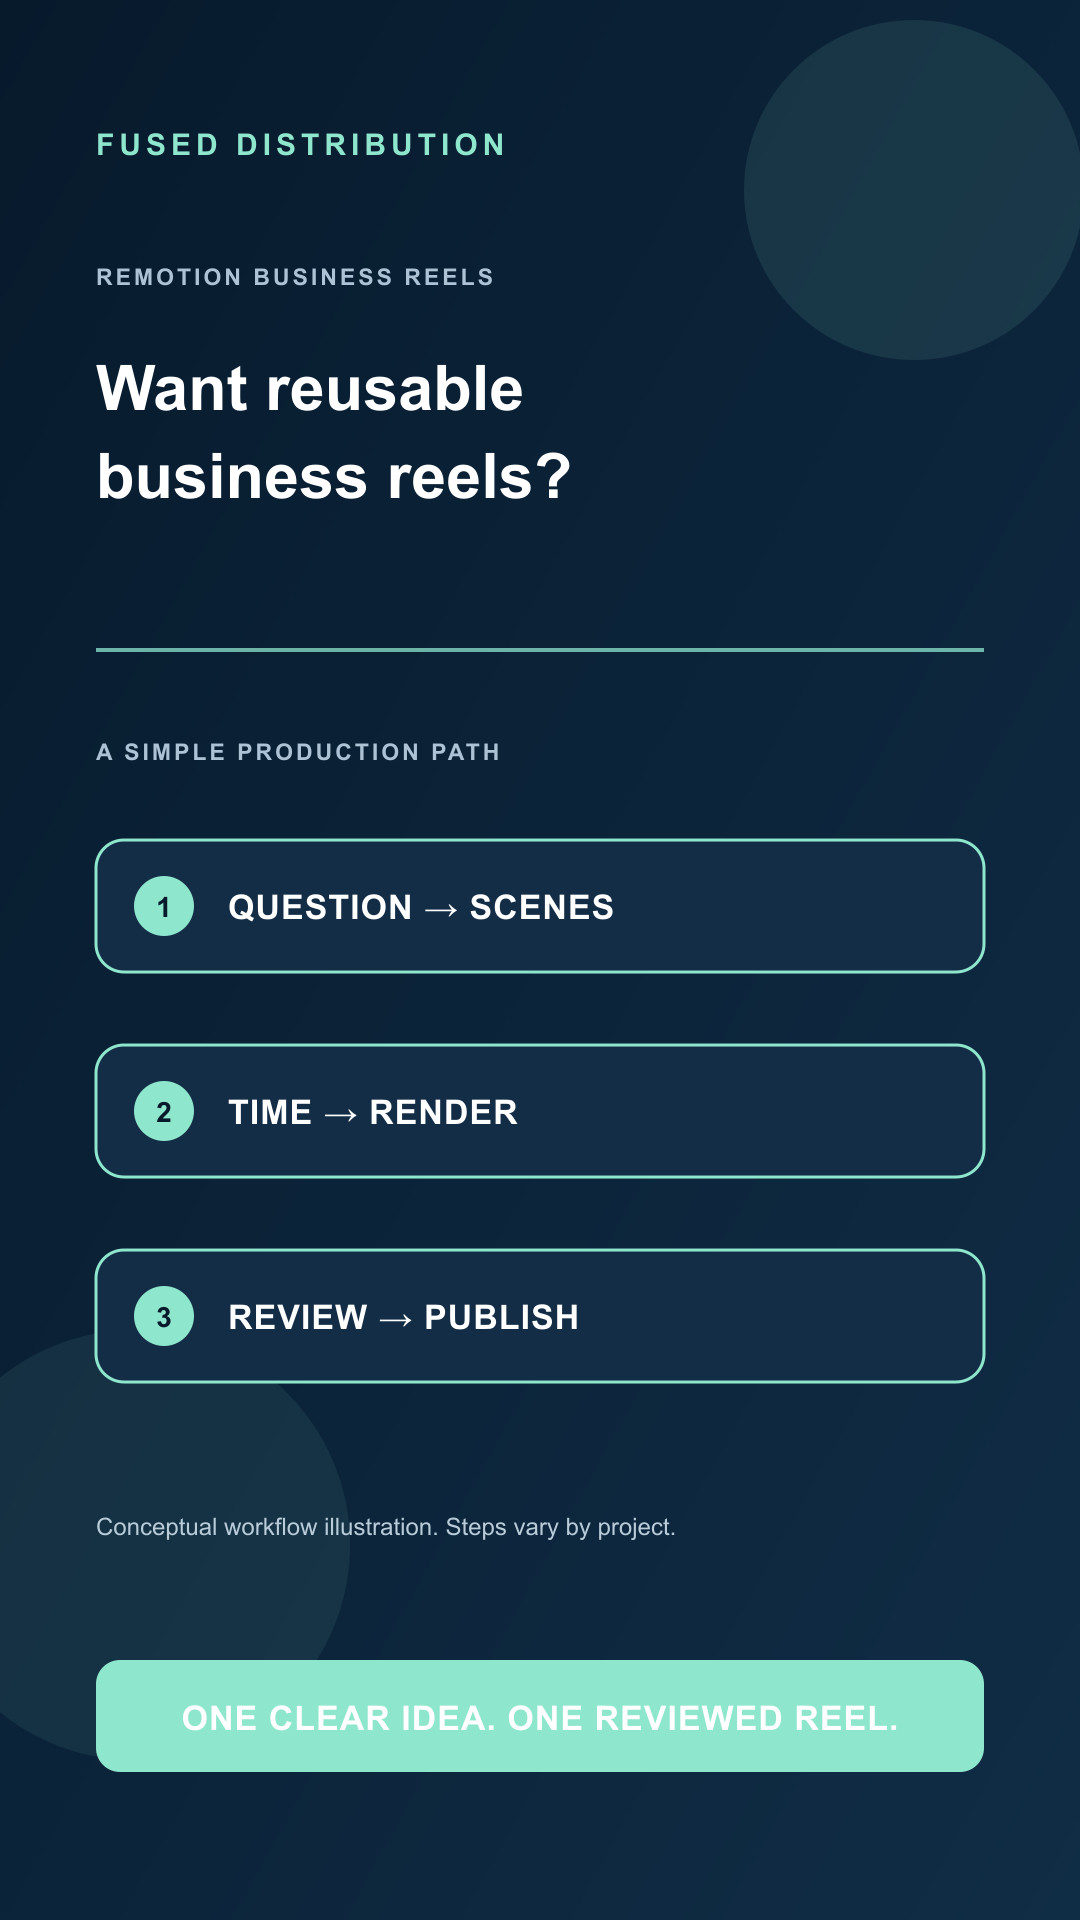
Remotion lets you build a video from React components and render it as a finished file. That can be useful when a business needs a repeatable reel format: keep the visual system consistent, then change the script, images, captions, and data for each new topic. The key is to treat the video as a small production system, not a pile of animated text.
Think of a reel as a composition
In Remotion, a composition describes a video that can be rendered. Its registered component draws the frames, while properties such as width, height, frame rate, duration, and composition ID define the output. The official guide uses a React <Composition> inside a registered root component. You can put several <Sequence> components inside the video component to play scenes one after another.
For a vertical business reel, decide the delivery shape before you build scenes. A 9:16 canvas, a chosen frame rate, and an explicit duration give you a stable target for layout and timing. Keep these values together in a named composition rather than scattering unexplained numbers through components. The values should follow the destination and the production standard you are using; the example below is a starting point, not a platform guarantee.
``jsx <Composition id="BusinessReel" component={BusinessReel} width={720} height={1280} fps={30} durationInFrames={3600} defaultProps={{ title: "A clear, specific title" }} /> ``
That example represents two minutes at 30 frames per second. A shorter reel needs a shorter frame count. Keep the title and other input values serializable as JSON so they can be passed into a render predictably. Remotion's documentation notes that functions, classes, and other non-serializable values are lost in default props.
Plan the story before the animation
Start with one viewer question. Answer it early, then divide the answer into a few useful steps. A practical reel often needs a clear opening, two to four payoff beats, and one call to action. Decide what the viewer should see and hear in each beat before writing transitions. If a chart appears, make its point clear and label its axes or measures. If a flowchart appears, make each step understandable without narration. An animation should help explain the idea, not delay it.
Write the narration in short spoken sentences and time each visual to the actual audio. Do not estimate the entire edit from word count alone. A voice track can be slower than expected, and captions can need extra reading time. Keep a script or data file separate from the React layout so an editor can update the topic without changing reusable components. A scene list might include its start frame, duration, headline, narration, background asset, and caption timing.
Build reusable scenes
Create a small set of components with clear jobs: an opening card, a step or checklist scene, a data graphic, and an ending card. Keep type sizes, color, margins, and animation timing consistent. Put the main subject and text inside a phone-safe area so interface overlays do not cover the message. Use a real photo or a simple diagram when it gives context; avoid adding motion just because the renderer can animate it.
Use a strong first frame. The hero should be visible at frame zero, with a relevant image and the opening question already readable. Avoid a fade from black or an animated title that arrives several frames late. Then inspect the encoded file at frame zero and shortly after it begins. A browser preview can hide a loading problem that appears in the export, so review the actual rendered video.
For scenes that play in sequence, use Remotion's timing primitives instead of manually mutating the DOM. A sequence can begin at a defined frame and contain a scene for its intended duration. Keep motion deterministic: the same props and frame should produce the same visual. That makes a correction easy to reproduce and lets an editor inspect a specific frame consistently.
Render and inspect
The Remotion CLI can render a registered composition by ID. The repository workflow can also use Remotion's server-side rendering API. A typical command names the entry point, composition, and output file; the exact command depends on the project setup and installed version. Read the local package scripts and configuration before copying a command from a different project.
``bash npx remotion render src/index.ts BusinessReel out/business-reel.mp4 ``
For a repeatable production, keep source assets, project configuration, and render settings together. Use local paths that resolve in the render environment, and validate every required image, font, audio track, and caption file before starting an expensive render. Render one reel at a time when local speech synthesis or the video renderer competes for CPU and memory. Reuse a completed audio or render checkpoint only when its source files and settings still match.
When rendering finishes, inspect the exported MP4. Check that it opens, has the intended dimensions and frame rate, begins with the hero, and includes the complete narration and final call to action. Read captions at phone size. Listen for cutoffs, clipping, and music that masks speech. Confirm any music license covers the channels where the video will appear. A successful command alone does not prove the video is ready to publish.
Connect Remotion to a business workflow
For each topic, keep a compact source package: approved article, research URLs, script, visual plan, media licenses, voice settings, captions, render metadata, and review record. Use a unique slug for each output and record the input hashes. This provides an audit trail when a visual or factual correction is made. It also helps a pipeline determine which stages can safely be reused.
Separate production from publishing. First render and review the video. Then prepare the channel-specific file and caption, check the live queue capacity, schedule through the supported publishing API, and read the created post back to verify its status and media. On the blog, embed only the final hosted video and verify the live page. Keep scheduled, sent, and published as distinct statuses; a file in an output folder is not evidence of a public post.
A practical first project
- Choose a specific viewer question and write the answer in a few steps.
- Create a vertical composition with fixed dimensions, frame rate, and duration.
- Build the opening, body scenes, captions, and one-action ending card.
- Provide approved media and serializable props for the topic.
- Render the composition with the project's pinned Remotion version.
- Inspect the exported opening, middle, captions, sound, ending, and technical metadata.
- Publish only after release checks pass, then verify the live post and blog embed.
Remotion is most useful when the template removes repeated editing work while leaving room for each topic to be clear and accurate. Start with a small composition, render early, and keep the process observable. When the output fails, a clear stage record and reusable source files make it easier to repair only what broke.
Sources: Remotion composition guide; Remotion rendering guide; Remotion video and Sequence documentation. Accessed November 3, 2026.
Related
- AI Reels for Beginners: Start With Your Real Business
- A Repeatable AI Reel Workflow for Small Business
- How to Build Business Connections That Create Opportunities
Read next: AI Reels for Beginners: Start With Your Real Business