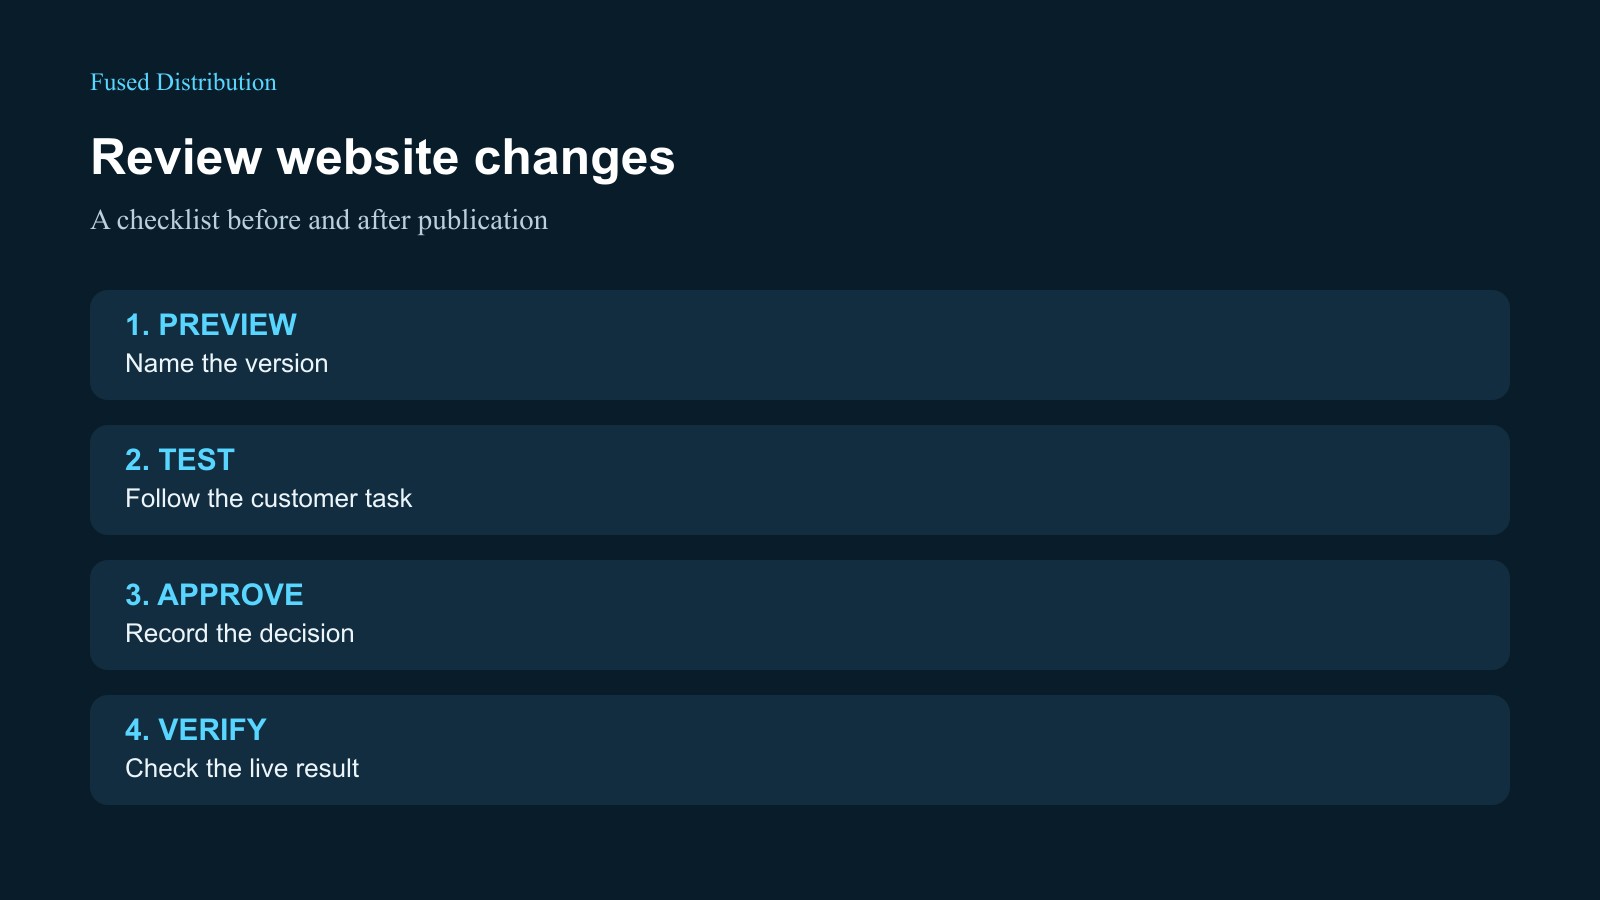
A website change is ready when the intended customer task works and the business information is correct. A good looking preview is a useful start, but approval needs more than a quick glance at the homepage. Use a short review record to connect the requested change, the version you tested and the decision to publish.
This checklist is designed for a business owner reviewing work with a designer or developer. Adapt the depth to the change: a paragraph correction needs less testing than a new booking flow. Choose the checks before opening the preview so the review has a clear finish.
Write down what should change
Start with the original request. Name the affected pages, the reason for the change and the result a visitor should be able to achieve. For a booking button, the acceptance condition might be: a visitor can select the intended service and reach the correct booking page from both the service page and the navigation.
List anything that must remain accurate, such as contact details, opening hours and existing service links. Give the person reviewing the work a specific preview address and a version or update time. If the developer changes the preview during review, agree which findings need another check. An approval should identify the actual version reviewed.
Compare the copy with the business record
Read the changed text in full. Confirm names, service descriptions, prices, dates and locations against the information the business currently uses. Ask the responsible person to resolve conflicting information rather than choosing whichever version looks more polished.
Check the surrounding page as well. A new offer can contradict an older sentence further down, and a changed phone number can leave the footer behind. Look at headings, image captions and the words on buttons. The button should describe the next step clearly. Avoid approving a claim about availability or results unless the business can support it.
Open any new images at their displayed size. Check cropping and whether text remains readable. Confirm that the business has permission to use the images and that any pictured work is represented accurately. Keep unfinished copy or placeholder imagery on the correction list.
Follow the customer journey
Start where a visitor might arrive, which could be a service page rather than the homepage. Follow the links involved in the change. Check where each link lands, including links to another service such as booking or payments. Record the exact address when the destination is wrong.
For a contact form, arrange a controlled test with the person who receives messages. Use clearly marked test details and avoid real customer information. Check the confirmation shown to the visitor and ask the recipient to confirm the message arrived. A success message alone does not establish that the intended inbox received it. Our monthly contact form checklist provides a repeatable follow-up routine.
If the change involves orders, reservations or notifications, ask the developer how to test without creating unintended charges or live bookings. Record anything that could only be simulated in the preview. Those checks still need a planned verification after publication, using an agreed test method.
Check a phone and basic accessibility
Review the changed pages on a phone as well as a desktop browser. Read the page at a normal viewing size and inspect the menu, form and main action. Note overlapping content, cropped labels or controls that are difficult to use. Include the device and browser in the review record so another person can reproduce the problem.
For an initial accessibility check, try keyboard navigation, look for visible focus, examine form labels and enlarge the text. W3C's Easy Checks guidance covers these areas and explains that passing a short check does not establish full accessibility. Use it to identify issues, and request a fuller evaluation when needed. Do not label a site fully accessible based on this checklist alone.
Send corrections that can be reproduced
Give each issue its own entry. Include the page address, what you did, what happened and what you expected instead. Attach a screenshot when it helps, but explain the problem in words too. “The booking button on the service page opens the old calendar” is more useful than “booking looks wrong.”
Separate issues that prevent publication from improvements that can be scheduled later. A wrong contact address or broken purchase step should be resolved before approval. A preference about spacing may be suitable for a later change if the owner agrees. Record that decision explicitly instead of leaving the developer to guess what counts as approval.
After a correction, repeat the failed action and inspect nearby parts of the page. Mark the issue resolved only when you have checked the result. If something remains untested, say so and name who will verify it.
Approve the release and check the live result
Use a short written approval naming the pages, version, reviewer and review date. Include any accepted follow-up items and the person responsible. Agree who will publish, when the release can happen and who can restore the previous version if the change causes a problem. Keep that information with your website access record.
After publication, open the public addresses and repeat the important customer actions. Confirm that the approved copy and images are actually visible and that links use the intended public destinations. A preview approval does not prove the live result matches it. Record the final check and resolve any difference before calling the work complete.
Keep a reusable review record
A simple document is enough: requested change, preview version, pages checked, device and browser, findings, owner, decision and live verification. Save it with the project notes. The next reviewer can then see what was tested and why the change was accepted, without reconstructing the decision from scattered messages.
Related
Read next: How to test your website contact form each month.