Name the tool → Follow the transfer
Understand working dies → Record observations carefully
A coin die is a tool that presses a design into a prepared metal piece. At the U.S. Mint, working dies strike coins; they are produced through a sequence involving hubs and dies. The design on the striking tool is reversed so that the finished coin receives the intended image.
This explanation concerns how a design is transferred. It does not identify a particular coin variety, authenticate an object or assign a value to a visible mark. Those are separate questions that cannot be answered merely by understanding the general manufacturing process.
The die carries the reversed design
The U.S. Mint's die-making guide distinguishes a hub's positive image from a die's reversed image. It describes transferring the design through generations of hubs and dies to produce working dies. The working die is the tool that actually strikes the coin.
That distinction helps when looking at an illustration. Ask whether you are seeing the artwork, a hub, a die or the coin. Images of these stages may look related, but they are not interchangeable. A caption that identifies the stage is part of the explanation, not a decorative detail.
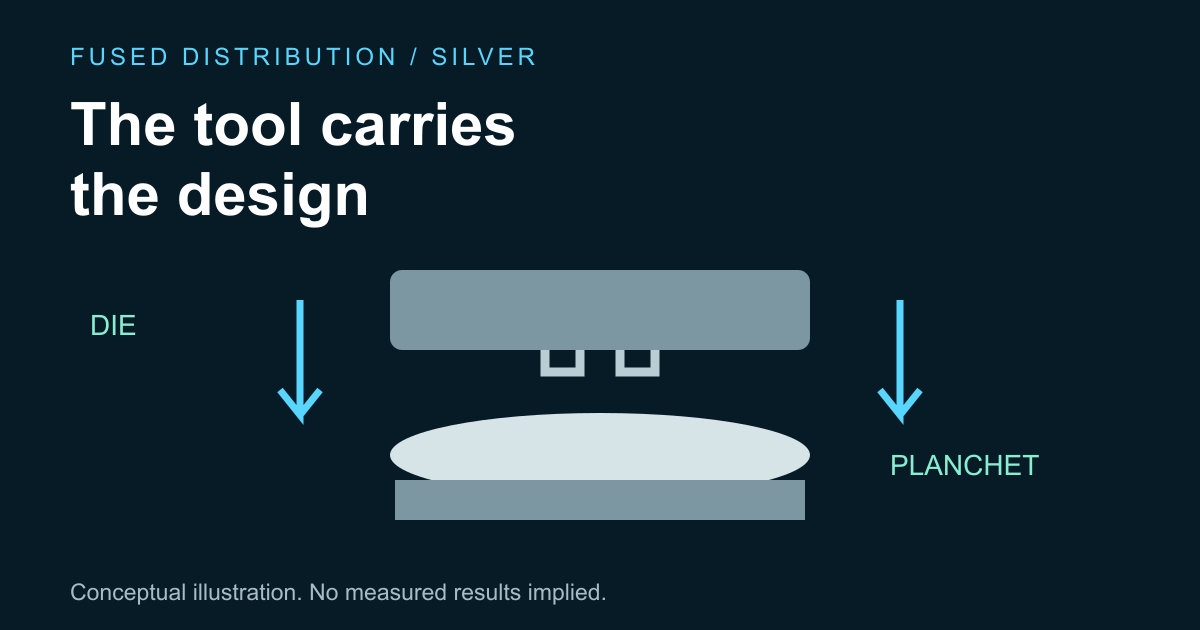
The diagram here uses a simple invented motif to show the tool and the receiving metal separately. It is not an image of an actual mint die or an exact coin design. Its purpose is to show where the transfer happens without implying that a pictured tool can identify a collectible.
Striking transfers the coin design
The Mint's coin production guide explains that the obverse and reverse dies press against the planchet during striking. The planchet's metal takes the design. A surrounding collar controls expansion and is part of the edge-forming process described by the Mint.
Keep this sequence distinct from an image being individually drawn or etched onto every finished coin. The production explanation is about tools pressing a prepared piece. It also distinguishes the design on the faces from the role of the surrounding tooling. You do not need to infer a press force or machine setting to understand that basic relationship.
If the term planchet is new, our guide to coin blanks and planchets explains the earlier stage. Reading the two topics together helps separate preparation of the metal from transfer of the design.
Why a mint uses working dies
The Mint describes master tools and working tools as different generations in the process. Working hubs can produce replacement working dies as those dies wear. The master tools are preserved through more limited use. This is the Mint's process explanation, not a statement that every mint and historical period follows an identical sequence.
For a beginner, the practical lesson is to name the tool precisely when taking notes. “Die” may be enough in a broad conversation, but a detailed explanation should tell you which generation it means. If your source does not specify that detail, preserve its wording rather than choosing a generation yourself.
Avoid adding a production count from memory. Tool life and production quantities are specific claims that need their own scope and source. This article does not estimate how many coins an unidentified die struck or infer a coin's rarity from the existence of a die image.
Describe an observation without diagnosing it
Learning about dies may make you more interested in the marks and details on a coin. Keep a visible observation separate from a claim about its cause. A photograph can document what is visible under its lighting and focus; it does not automatically explain when or how a feature formed.
A useful record names the coin or inventory identifier, the view, the source of any specialist attribution and the unresolved question. If another person has identified a variety, preserve their exact report and supporting information. Do not turn a general educational diagram into a substitute for that evidence.
Our coin inventory photography guide describes linking images with the right record. Use those images to support a clear question. Avoid editing the only original to make a feature look more like an example found elsewhere.
Read production illustrations critically
Look for a caption identifying what the illustration simplifies. A side view can explain pressure and contact while omitting the actual surface design. A face view can show a motif while hiding the rest of the assembly. Neither view should be assumed to show every feature of a working press.
Before sharing an illustration, check that your caption does not claim more than it depicts. Label an invented motif as conceptual. If you use an official image, preserve the source and its context and follow the relevant reuse terms. Clear labeling makes a simple graphic useful without making it appear to be documentary evidence of a specific object.
Keep the sequence in order
The essential sequence is a design represented in tooling, working dies prepared for production, and a planchet struck to receive the design. The vocabulary helps distinguish the artist's image, the tool and the finished object. It does not settle every question a collector might ask about a coin.
For a reliable explanation, cite the mint's process and keep observations about individual items in separate records. That gives you a sound starting point for learning more while leaving attribution, authenticity and value to evidence that actually addresses them.
Sources
- U.S. Mint die making: hub/die images and working-tool sequence.
- U.S. Mint coin production: striking and the planchet.
Related
Read next: Understand the metal before striking.