Describe the central subject → Look at the field and relief
Follow the inscription toward the rim → Turn the viewing order into a record
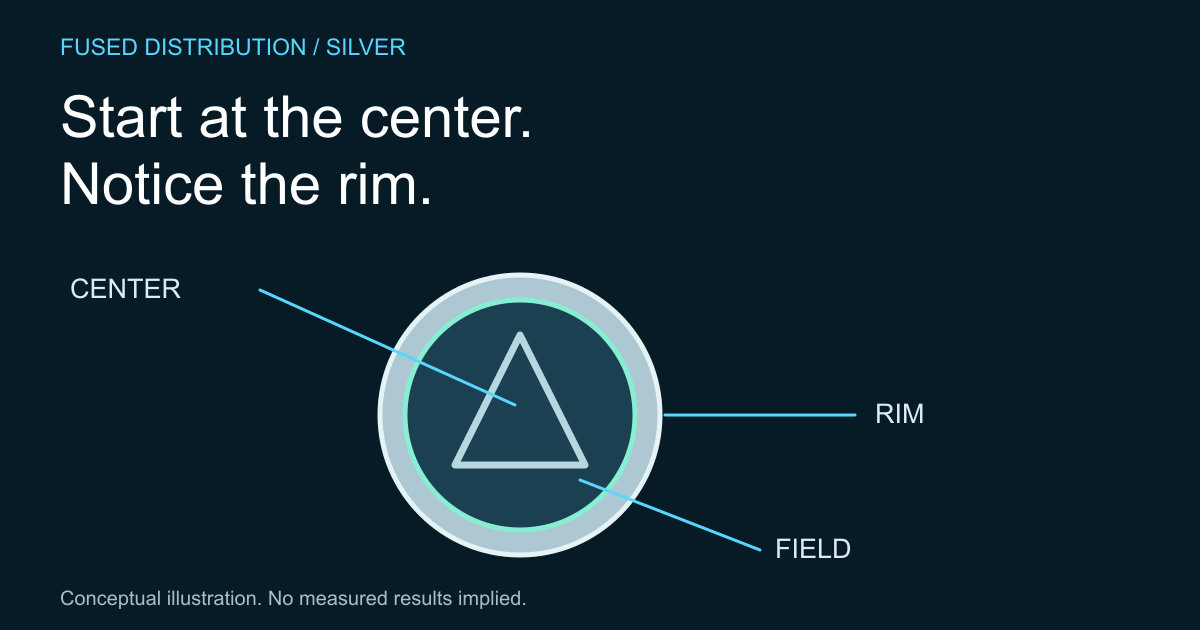
A deliberate viewing order can help you notice more than the most recognizable image on a coin. Start at the center, move through the surrounding space and inscriptions, then inspect the rim. Keep the edge as a separate view. This is a way to organize observations, not a method of grading or authentication.
The U.S. Mint anatomy guide names the field, relief, inscriptions, rim and edge. Use those terms where they describe the feature you mean. Keep the object identifier and photograph together so the notes still make sense when you return to them later.
Describe the central coin design
Write what is visibly depicted before describing its intended meaning. A building, figure or plant can be observed without claiming that you know why the designer chose it. If the issuer explains the design, cite that explanation separately from your own interpretation.
Notice how the subject occupies the available space. Does it reach toward the lettering, or leave a broad open area around it? Record the relationship in plain language. A preference for one arrangement is personal; it does not need to be presented as a claim about rarity or market value.
Look at the field and relief
The Mint describes the field as the flat portion of the surface not used for design or inscription, and relief as the raised design. Use light carefully when inspecting those areas. Reflections can hide details or exaggerate apparent differences between photographs.
Our guide to photographing a coin inventory explains keeping useful views. Preserve original images and label additional crops. If a feature cannot be seen clearly, say so. Avoid cleaning or modifying the object to resolve an uncertainty in your notes.
Follow the inscription toward the rim
Read the visible words, dates and marks, keeping uncertain characters clearly marked. Observe spacing and placement without assuming that an unfamiliar appearance proves a variety or error. The raised border around a face is the rim; the outer border seen from the side is the edge.
The distinction matters when you describe what interests you. Our article on the coin collar provides production context for the edge. It should not be used to diagnose a particular mark from a single photograph. Product specific questions need product specific evidence.
Turn the viewing order into a record
Use a short sequence in your notes: central subject, surrounding field, inscription, rim and separate edge view. Add image references and unresolved questions. This makes the record easier for another person to follow than a general statement that the piece looks unusual.
Finish with one feature you want to research further. Look for an issuer's design description or another appropriate source and keep the source with the answer. You may find that a careful description is enough for your collection. There is no need to turn every observation into an attribution or purchase decision.
Sources
- U.S. Mint anatomy guide. Source context is distinguished from the original practical method above.
Related
Read next: How to photograph silver coins for an inventory.