Read the artist sketch as a design proposal → Follow the design into a sculpted model
Distinguish the coin model from production tooling → Compare the finished coin with its source design
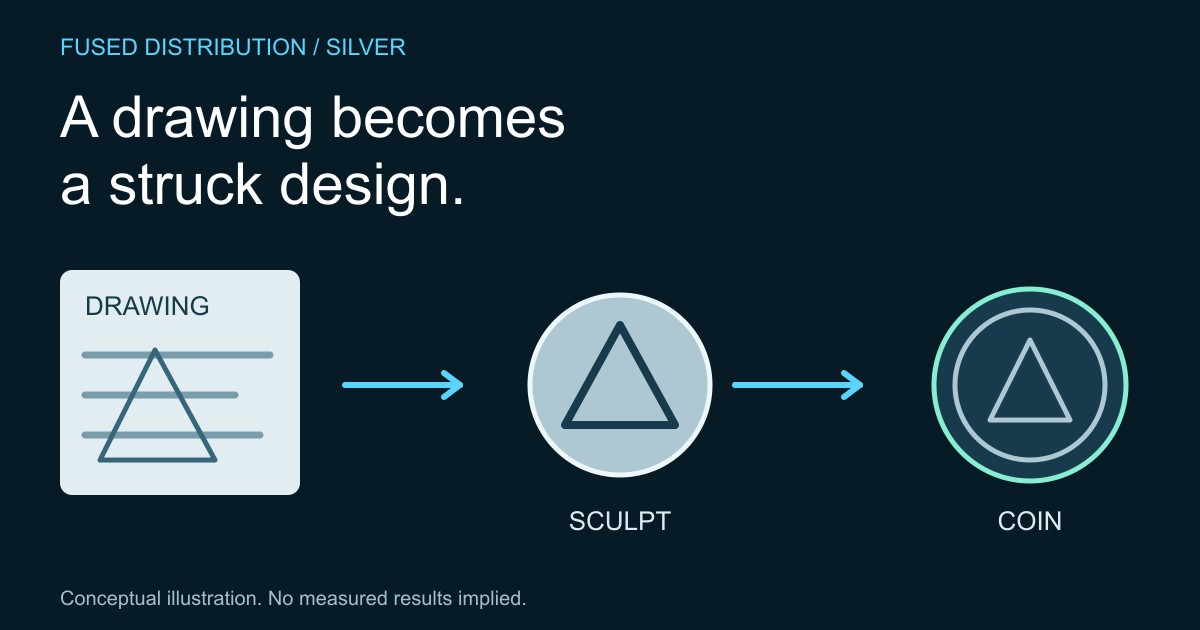
A coin design moves through more than a drawing stage before it appears on a finished coin. The U.S. Mint describes an approved line drawing becoming a three dimensional sculpt, with a final digital model used in making production tooling. Following those stages helps explain why a sketch and a struck object are different kinds of evidence.
Use the Mint's account as an explanation of its process, not a claim that every issuer follows identical steps. For a particular coin, keep the issuer, issue and source attached to each image. A proposed design, an approved model and a finished product should not be presented as if they were the same object.
Read the artist sketch as a design proposal
Start by identifying what the image represents. Is it a candidate drawing, an approved design or a photograph of a finished coin? Save the original caption and source with your notes. A cropped image shared without context may remove the very label that answers the question you are trying to investigate.
Describe visible choices such as the main subject, lettering and placement of supporting details. Keep interpretation separate from observation. Our guide to reading a coin from center to rim provides a way to look systematically. A personal reaction to the composition is useful collecting context, but it is not evidence of the artist's stated intention.
Follow the design into a sculpted model
The Mint explains that a medallic artist turns the approved drawing into a sculpt, using physical or digital methods. The model gives the design a three dimensional form. That adds a different way to examine the design from the lines and shapes visible in a flat drawing.
When comparing a model image with the drawing, note what the source identifies as the same design and version. Do not assume that every visible difference is an artistic revision. Lighting, camera angle and image treatment can affect what you see. Keep any documented explanation of a revision with the comparison instead of supplying a reason from appearance alone.
Distinguish the coin model from production tooling
The Mint says the final digital model is used to carve a master hub in the process of making the die that stamps the design. This connection explains why a model image is not a photograph of the working tool. Our article on how dies transfer a design gives additional context for the tooling stage.
On a collection worksheet, use separate labels for drawing, model, tool and finished coin. Leave a stage blank if you do not have a reliable image or description. A complete looking diagram with an incorrectly labeled image is less useful than an honest gap. Seek issue specific records when a distinction matters to your question.
Compare the finished coin with its source design
Look at the final coin with consistent lighting and magnification, then return to the documented design images. Record the details you can compare directly, such as the relationship between the subject and the inscription. Avoid making an attribution or condition judgment solely from a small promotional image.
Keep designer and sculptor credits as the issuer records them. The drawing and sculpting roles may be credited separately, so do not infer one from the other. Finish your record with a short explanation of what you learned and the remaining question. Following the stages should deepen your understanding of the design without turning an attractive story into an unsupported claim about rarity or value.
Sources
- U.S. Mint sculpting process: the route from approved drawing through model and tooling.
- U.S. Mint artists: design and sculpting roles. The comparison worksheet is original guidance.
Related
Read next: Understand the tooling behind the design.